A: Files
File Uploads in Commands. Commands can also provide controls for file uploads. The handling for files must be somewhat different than for simple strings and numbers, because uploading a file involves…
File Uploads in Commands
Commands can also provide controls for file uploads. The handling for files must be somewhat different than for simple strings and numbers, because uploading a file involves a stream of data that must be placed somewhere, to be accessible to the command. Parameters in a command function that begin with the file prefix will render a file upload control. Place the following code into the Dino Cookbook rule script, and then create a command (in the Commands tab) to run it.
/**
Command function demonstrating file uploads.
*/
def cmdUploadFile(fileUpload) {
    $$
    <param	name="fileUpload"
        multiple="true"
        help="Select files for upload" />
    $$

    return fileUpload;
}
When a file is uploaded via a command function, it is stored on the server in a unique folder, and a temporary record called a WebTempFile (found in the Trestle.Files namespace). If we simply return the value of the fileUpload argument as we do in the previous example, we can see that what is ultimately passed to the function is a list of files (even if only one is uploaded).

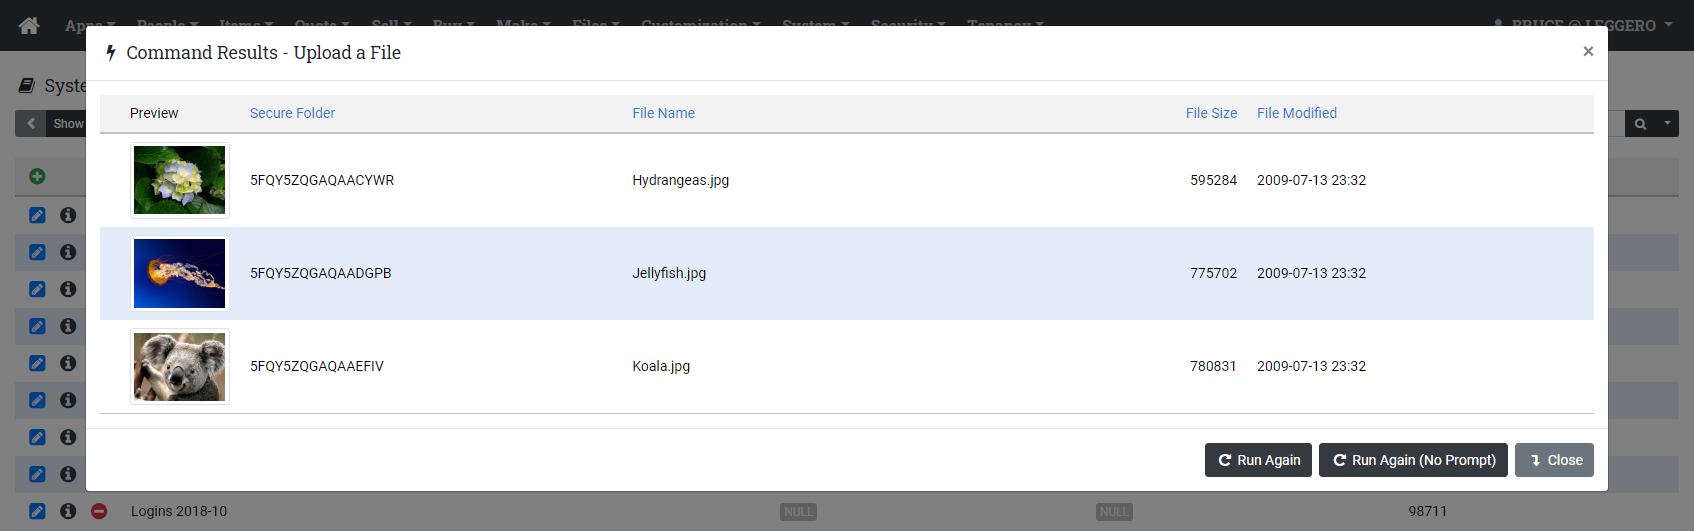
Go ahead and run this command, selecting one or more files from your file system, then pressing Run. You will see that what is returned is a list of records that have some properties. The WebTempFile type is very useful, because the files can be read from, stored into the system as a permanent document, and other useful things.
There is one very important caveat that you must know about including a file upload in a command function: you may only have one file upload parameter. For example, a command function written as shown below will likely fail. This limitation has little to do with Dino or Trestle and is more a consequence of the limitations of the HTTP protocol and the way that files are attached to requests. In practice, this "limitation" is rarely a big deal, since you can mark the file parameter as multiple="true" in order to upload more than one file.
def cmdBadFileUpload(fileUploadOne, fileUploadTwo) {
    // don't do this, you should only have one file upload parameter
}
If you look closely at the right side of the image immediately above, you see that there is a property of WebTempFile called FileModified. The great thing about this is that it is the actual file modification date carried from the data on your file system, not the date it was uploaded. This can be very useful information when deciding whether to replace a permanent file, for example. We can see here that the files we chose haven't changed in over 10 years!
Uploaded Files Have URLs
Obviously just returning the result of this command to the screen isn't of any value, because once the command goes away, the WebTempFile records disappear with it, and the physical files that were uploaded will ultimately be deleted via routine maintenance, since they are usually stored in temporary folders that are designed to be cleaned out periodically. So rather than just showing the results on the screen, our next command will do something useful.
Starting with this command, we will no longer be reminding about creating a command record and will be skipping some of the screen shots for collecting the arguments, instead focusing more heavily on the output of running the command.
/**
Command function to show how to get URLs of uploaded files.
*/
def cmdUploadFilesShowUrls(fileUpload) {
$$
<param name="fileUpload"
multiple="true"
help="Select files for upload" />
$$
from Trestle import DynamicProxy;
from Trestle.Files import WebFileExtensions;
var results = list[DynamicProxy]();
// notice that fileUpload is a list, so we can loop over the contents
each file in fileUpload {
var d = dynamic();
d.FileName = file.FileName;
d.Url = file.GetAbsoluteUrl();
results.Add(d);
}
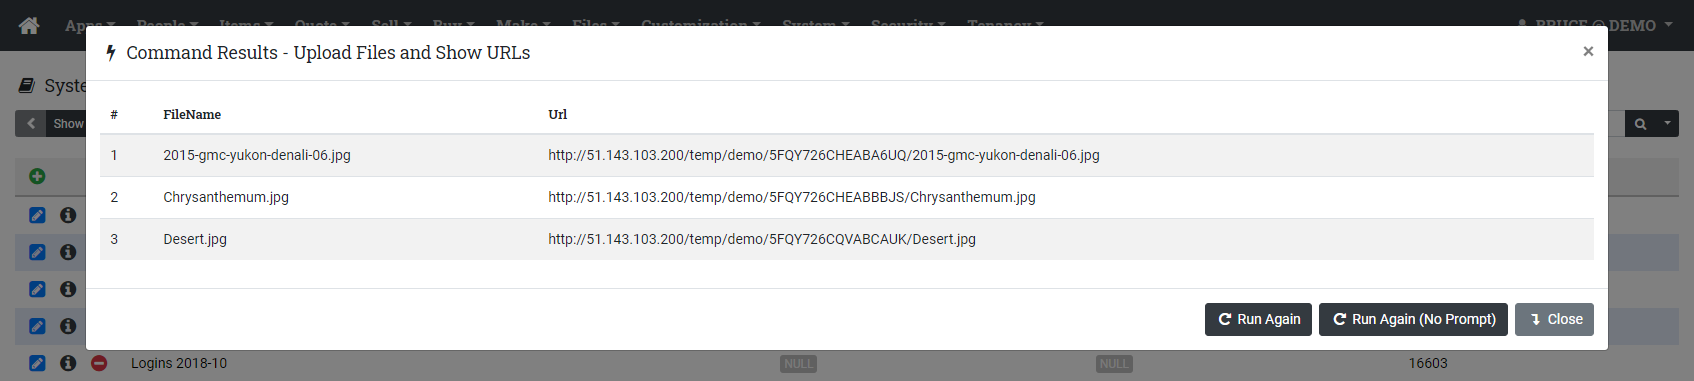
return results;
}
Uploaded Files Can be Made Permanent
As noted, when we upload files via a command function, the argument passed in is a list of WebTempFile. These files can be stored permanently to the system using a method on WebTempFile called ToPermanent.
/**
Command function to show how to save uploaded files to the system.
*/
def cmdUploadFilesToPermanent(fileUpload) {
    $$
    <param name="fileUpload"
	   multiple="true"
	   help="Select files for upload to put into Documents" />
    $$
    from Trestle.Files import WebFileExtensions;
    from Trestle.Data import Document;

    var results = list[Document]();
    // notice that fileUpload is a list, so we can loop over the contents
    each file in fileUpload {
        results.Add(file.ToPermanent(Document));
    }

    return results;
}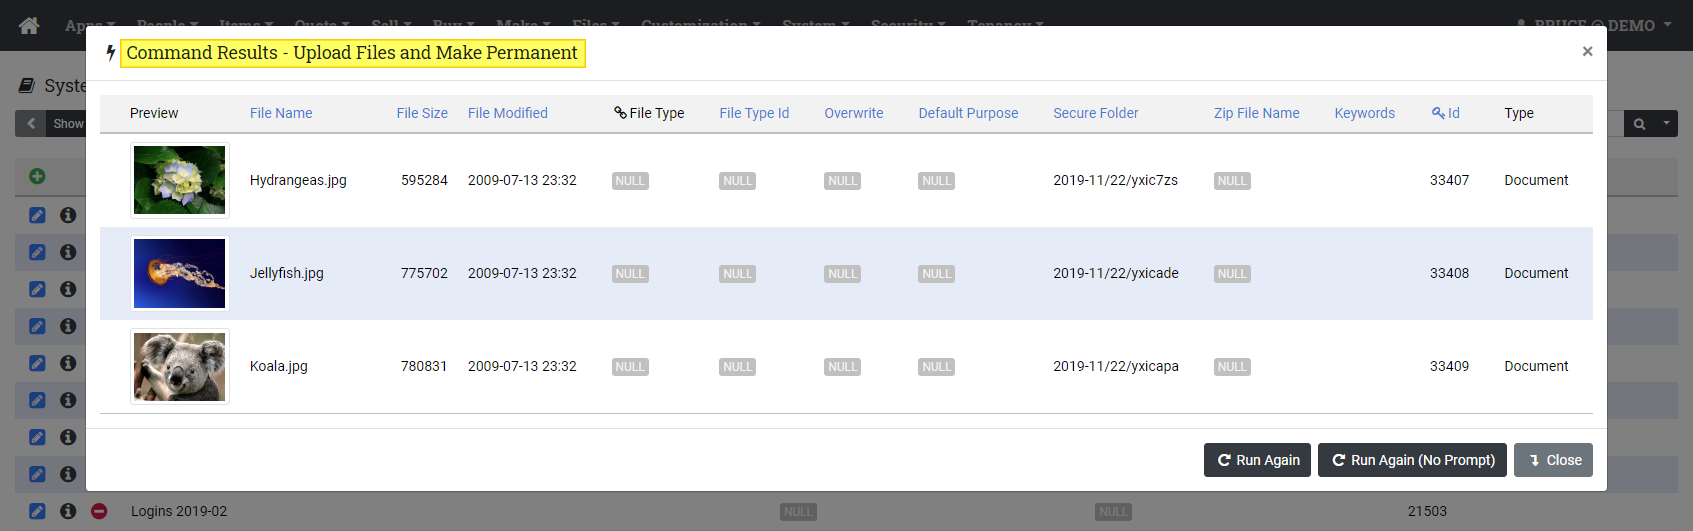
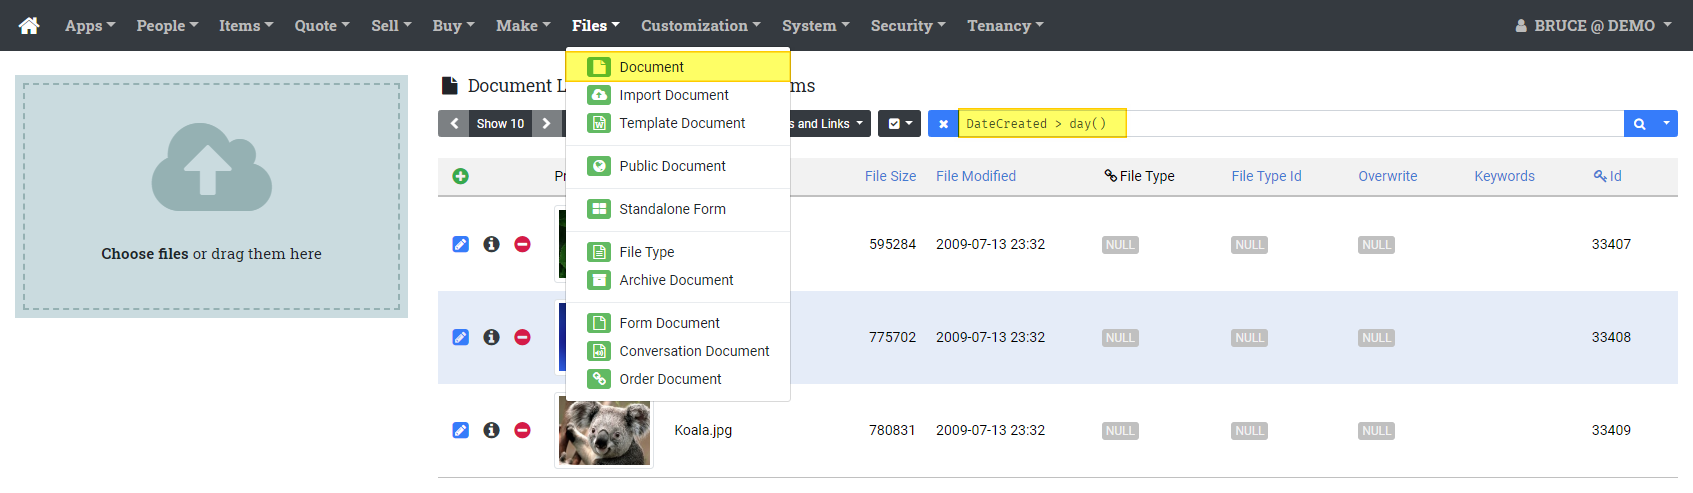
If we now navigate to the Document list view (in this system it is under the Files menu), and put in a search term, we can see that the files were indeed uploaded and then stored into the system.
Uploaded Files Can be Processed
Dino is ideal for ETL (Extract-Transform-Load) operations. We can inspect the contents of Excel or CSV files and use the data in them to perform integration into the system. One of the most useful aspects of this is to create new records, or to modify the properties of existing records.
The Trestle extensions for Dino have several utilities which can simplify these types of updates. Dino can both output Excel files, and then read them back in for processing. We will be using methods defined on the host object, which is discussed in several later sections.
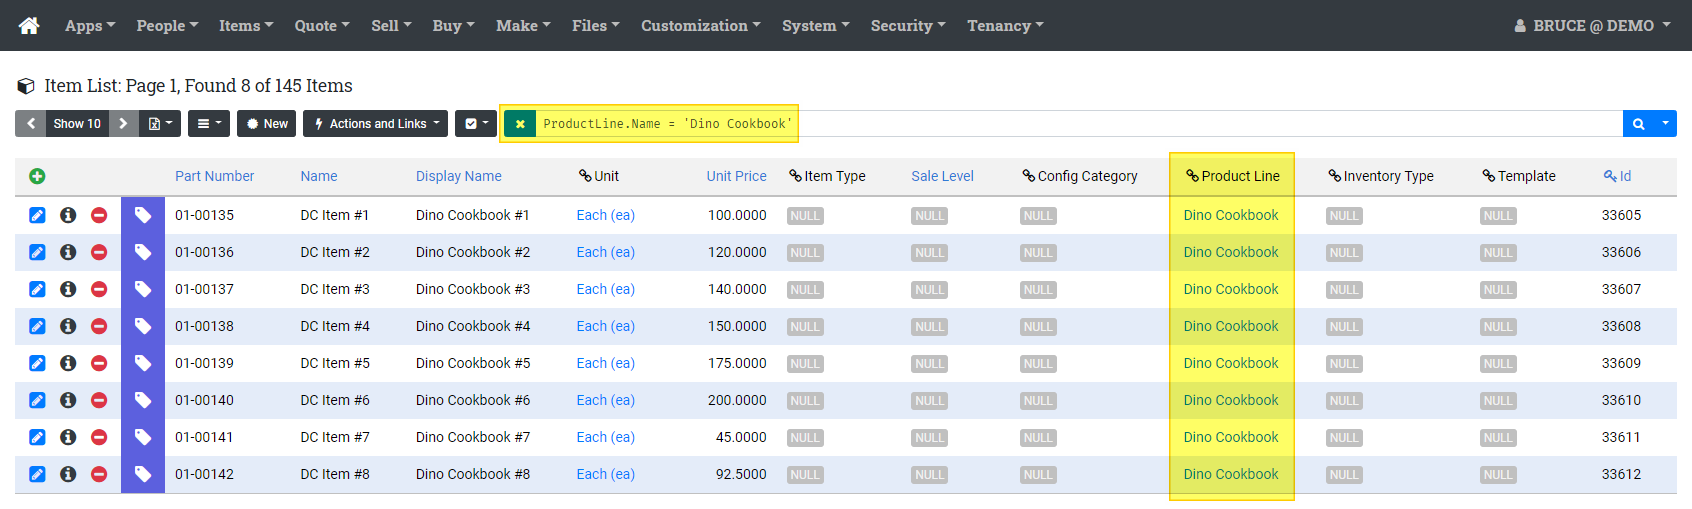
For these exercises we'll be using a record called Item that exists in this system. Here we have gone to the Item list and put in a search term that shows the records we will work with. If your system does not have this record type, you can use something else.
First, we need to get the records that will populate the Excel file. This file could be something that another user edits offline, or possibly they don't have access to the system and need to manage data outside of it.
/**
Command function that shows how to get a custom Excel file.
*/
def cmdDownloadDinoCookbookItems() {
from Aim import RepositoryExtensions, DynamicProxy;
from Efx.Data import Item;
var query = "ProductLine.Name = 'Dino Cookbook'";
var records = Item.GetRepository().FindSearch(query);
var results = list[DynamicProxy]();
each rec in records {
var d = dynamic(
Id = rec.Id,
Line = rec.ProductLine?.Name,
PN = rec.PartNumber,
Name = rec.Name,
Price = rec.UnitPrice
);
results.Add(d);
}
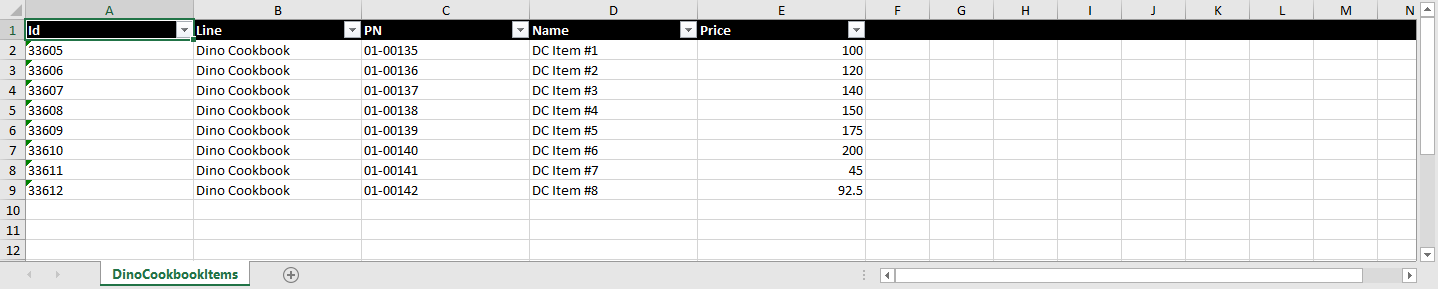
return host.excel(results, 'DinoCookbookItems');
}This command demonstrates how to build up a set of dynamic objects and return them as an Excel file. The highlighted line earlier in the function also shows something important. Notice that the query variable is set to the same search term that we used on the Item list screen. When you run this command, you should get a link that allows you to download the created Excel document.

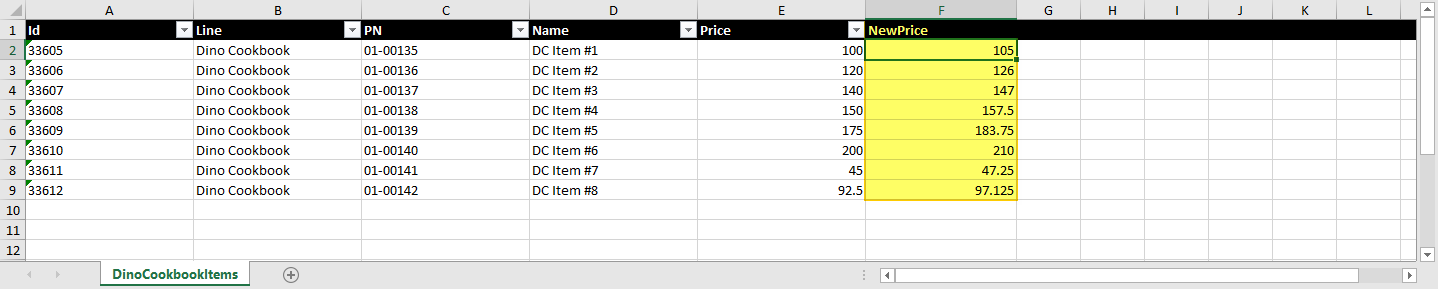
For this exercise, we will change the prices in the Excel sheet, and then use that data to update the system. Here we have created a new column called NewPrice with a formula which increased the prices by 5%. We then saved the file, because we'll be uploading it soon.
Now we can write a command that re-integrates this data and updates the system.
/**
Command function to show how to update a set of records from Excel upload.
*/
def cmdUpdateRecordsFromExcel(fileExcelFile) {
    $$
    <param name="fileExcelFile"
	   multiple="false"
	   help="Select an Excel File" />
    $$
    from Efx.Data import Item;

    if not fileExcelFile {
	return 'No file was uploaded.';
    }
    var file = fileExcelFile[0];
    var rows = host.getProxies(file);
    var count = 0;
    each row in rows {
	var record = Item.GetRepository().Find(row.Id);
	record.UnitPrice = row.NewPrice;
	Item.GetRepository().Save(record);
	count++;
    }

    return string.Format('All done, updated {0} records.', count);
}
After running any command that updates system data, it's a good idea to navigate to the list view and verify that the changes were made correctly.
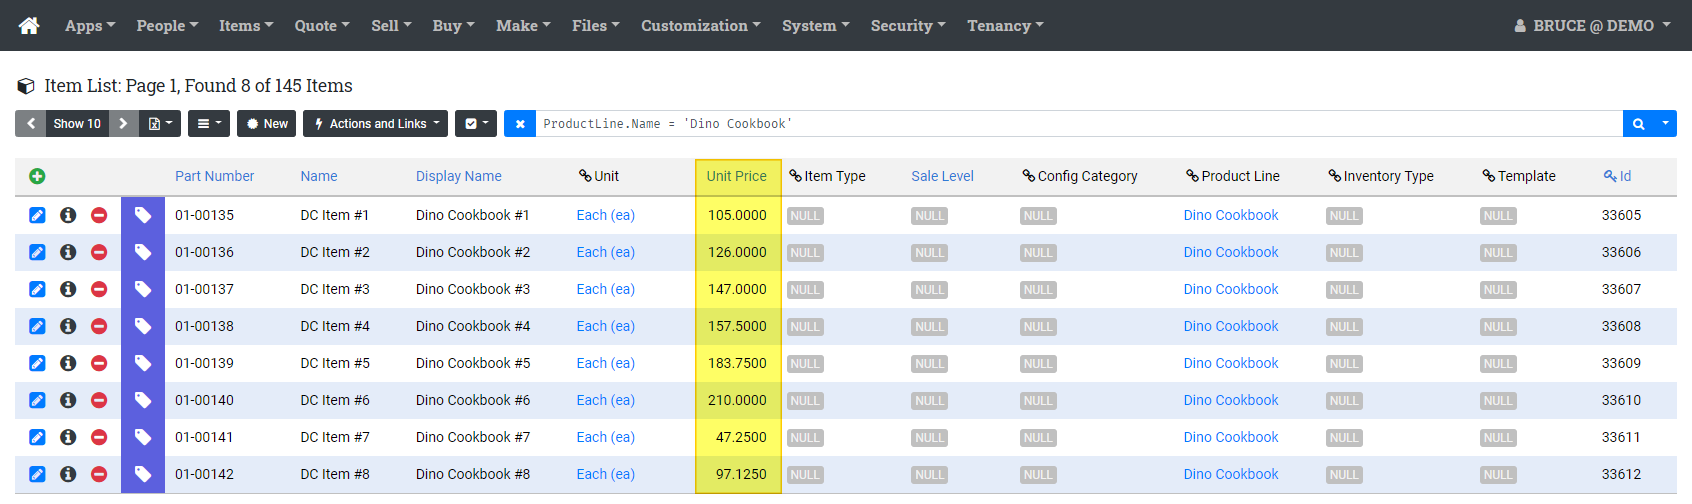
You can think of host.excel and host.getProxies as a "complementary pair" of methods that can be used to output records, make changes, and then upload and update that set of records.
How did we do?
A: Introduction
A: Direct Links - URLs and Downloads