This article will guide you through the process of creating a QCIR Template. For an overview of the Quality Control Records System, visit the article Quality Control: Templates and Inspections If you…
This article will guide you through the process of creating a QCIR Template.
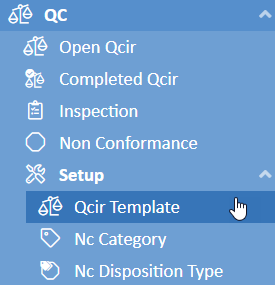
In the menu, navigate to QC -> Setup -> Qcir Template
Click the plus-circle or New button to add a new template
Fill in the fields as necessary:
Details
Name: Used to differentiate this template from others for this item (optional)
Item: Search for an Item to link to the Template.
Labor Routing, Customer, Supplier: To further narrow the use of this template, you can associate it with only a certain labor routing, customer, or supplier (optional)
Pct To Inspect: This represents the default percentage of items to inspect under this inspection template. This default may be overridden by the percentage specified for certain characteristics.
Notes: Add any additional notes that should be copied when this template is used.
Limit Inspection To
Customers, suppliers, and labor routing can all be searched for and linked to the QCIR template.
Click Save
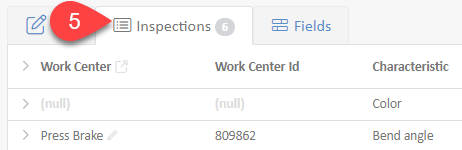
Note that some new tabs have appeared, Inspection Types and Fields. We'll use the Inspection Types tab. The Fields tab is part of the custom fields functionality available throughout Wheelhouse.
Select the Inspections Type tab.
Click the plus circle to add a new Characteristic inspection
Fill in the fields as necessary:
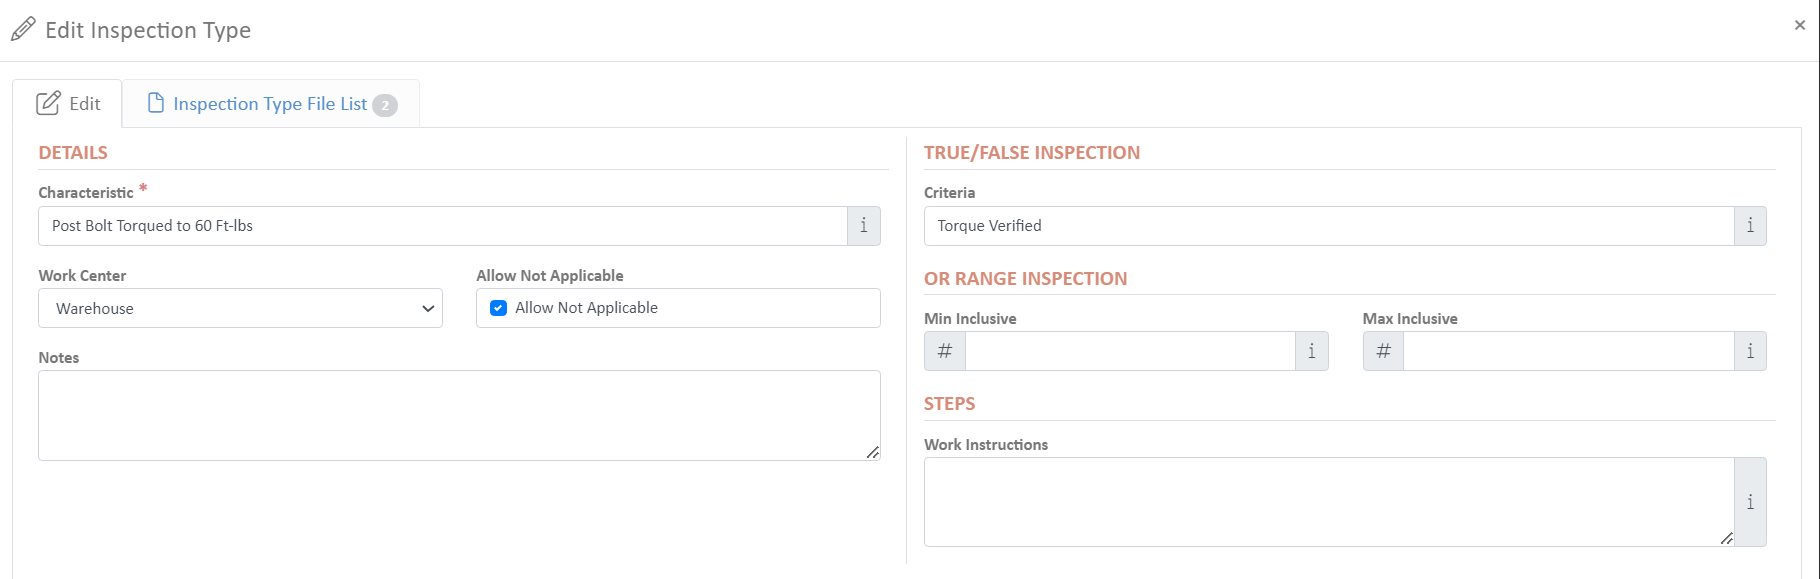
Details
Characteristic: The name of the inspection, such as color, thickness, etc. Characteristics fall into 2 categories - pass/fail or numeric. (Required)
Work Center: Search for and link a work center to the inspection type.
Allow Not Applicable: When enabled, this option allows the inspection type to be marked as non-applicable for certain items or conditions.
Notes: (not used)
True/False Inspection
Criteria: If the Characteristic is pass/fail, enter the criteria by which the pass or fail will be determined. For example, if the Characteristic is color, the Criteria might be Blue. (required for pass/fail Characteristics)
Or Range Inspection
Min & Max Inclusive: if the Characteristic is numeric, the minimum and maximum values that are acceptable should be entered here. (required for numeric Characteristics)
Steps
Work Instructions: (not used)
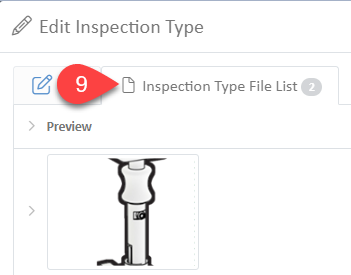
To add images, switch to the Inspection Type File List tab.
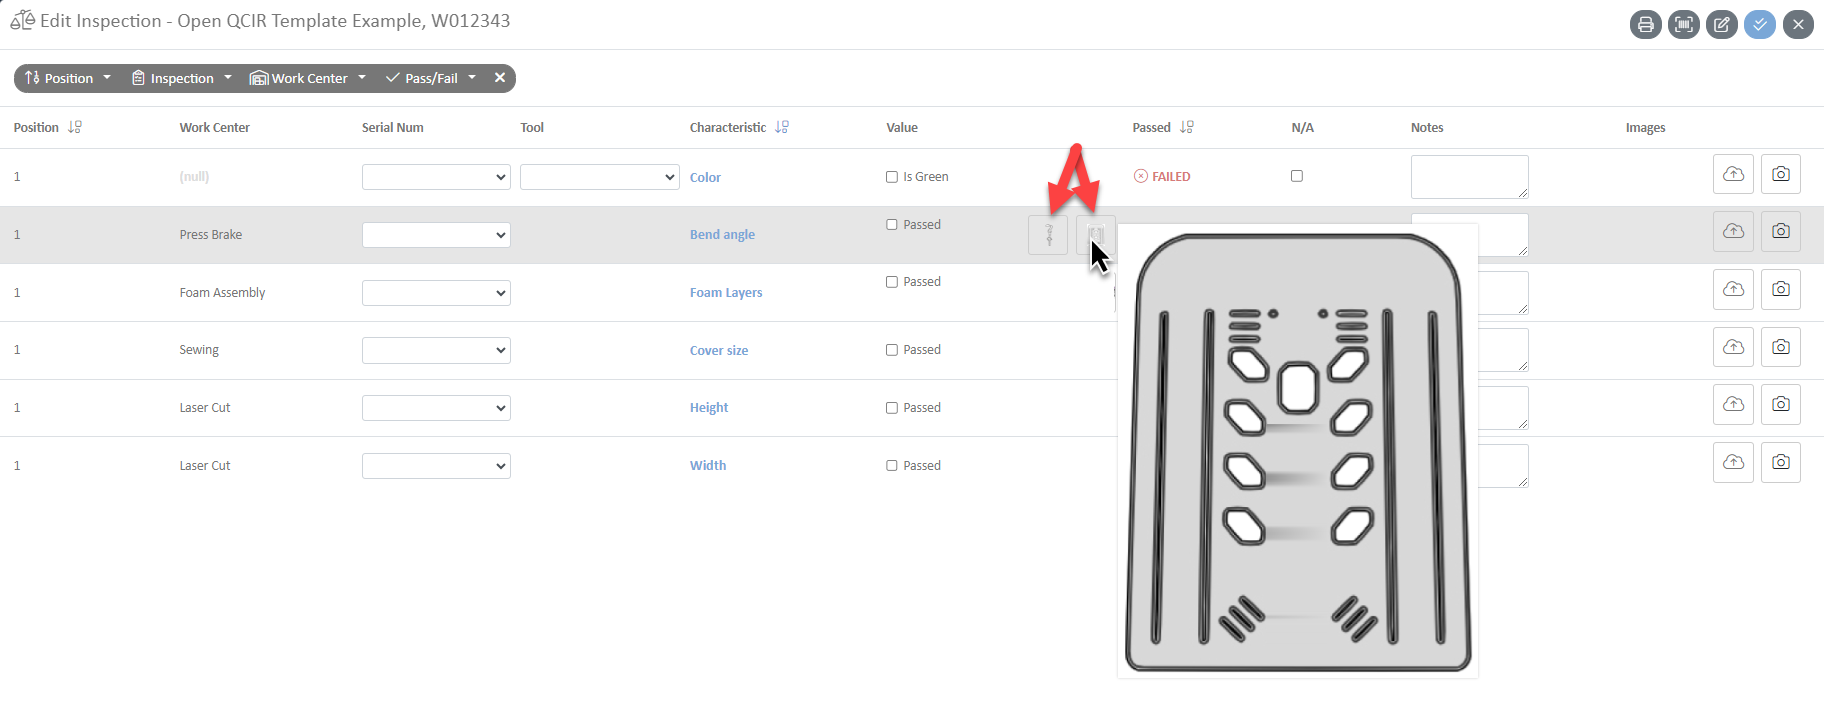
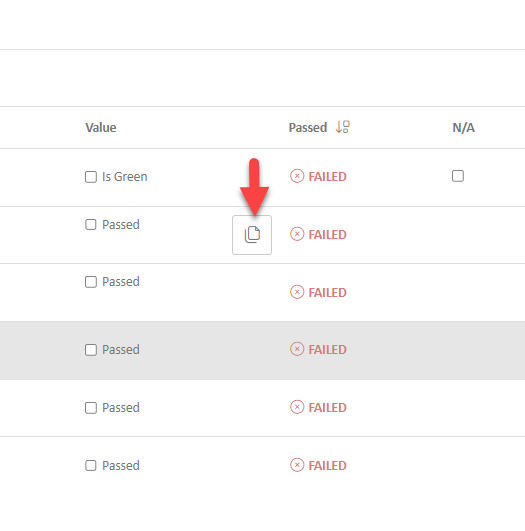
Use the plus icon to upload images and other file types. When the QCIR is used, the images or file icons will appear in the inspection row. When the user moves their mouse over the icons, images will be enlarged. Clicking on a file icon will open the file in a slide-out window.If you upload more than two images, the images will consolidate into a single file icon.
Click OK
To add additional inspection Characteristics, repeat steps 7 -> 11.
Click Save
Now that the QCIR Template is set up, you can record QCIRs!