Table of Contents
Inventory Manager
Overview. The Inventory Manager in Wheelhouse provides a visual interface for setting up and managing inventory locations, item bins, and replenishment cards using Kanban principles. Whether you’re m…
Overview
The Inventory Manager in Wheelhouse provides a visual interface for setting up and managing inventory locations, item bins, and replenishment cards using Kanban principles. Whether you’re managing an already-configured system or setting one up from scratch, the Inventory Manager offers a streamlined workflow to support lean, visual inventory control.
Print Bin Labels and Replenishment Loop Cards
If your Inventory Manager has existing Areas, Bays, and Bins configured, replenishment cards and labels can be easily
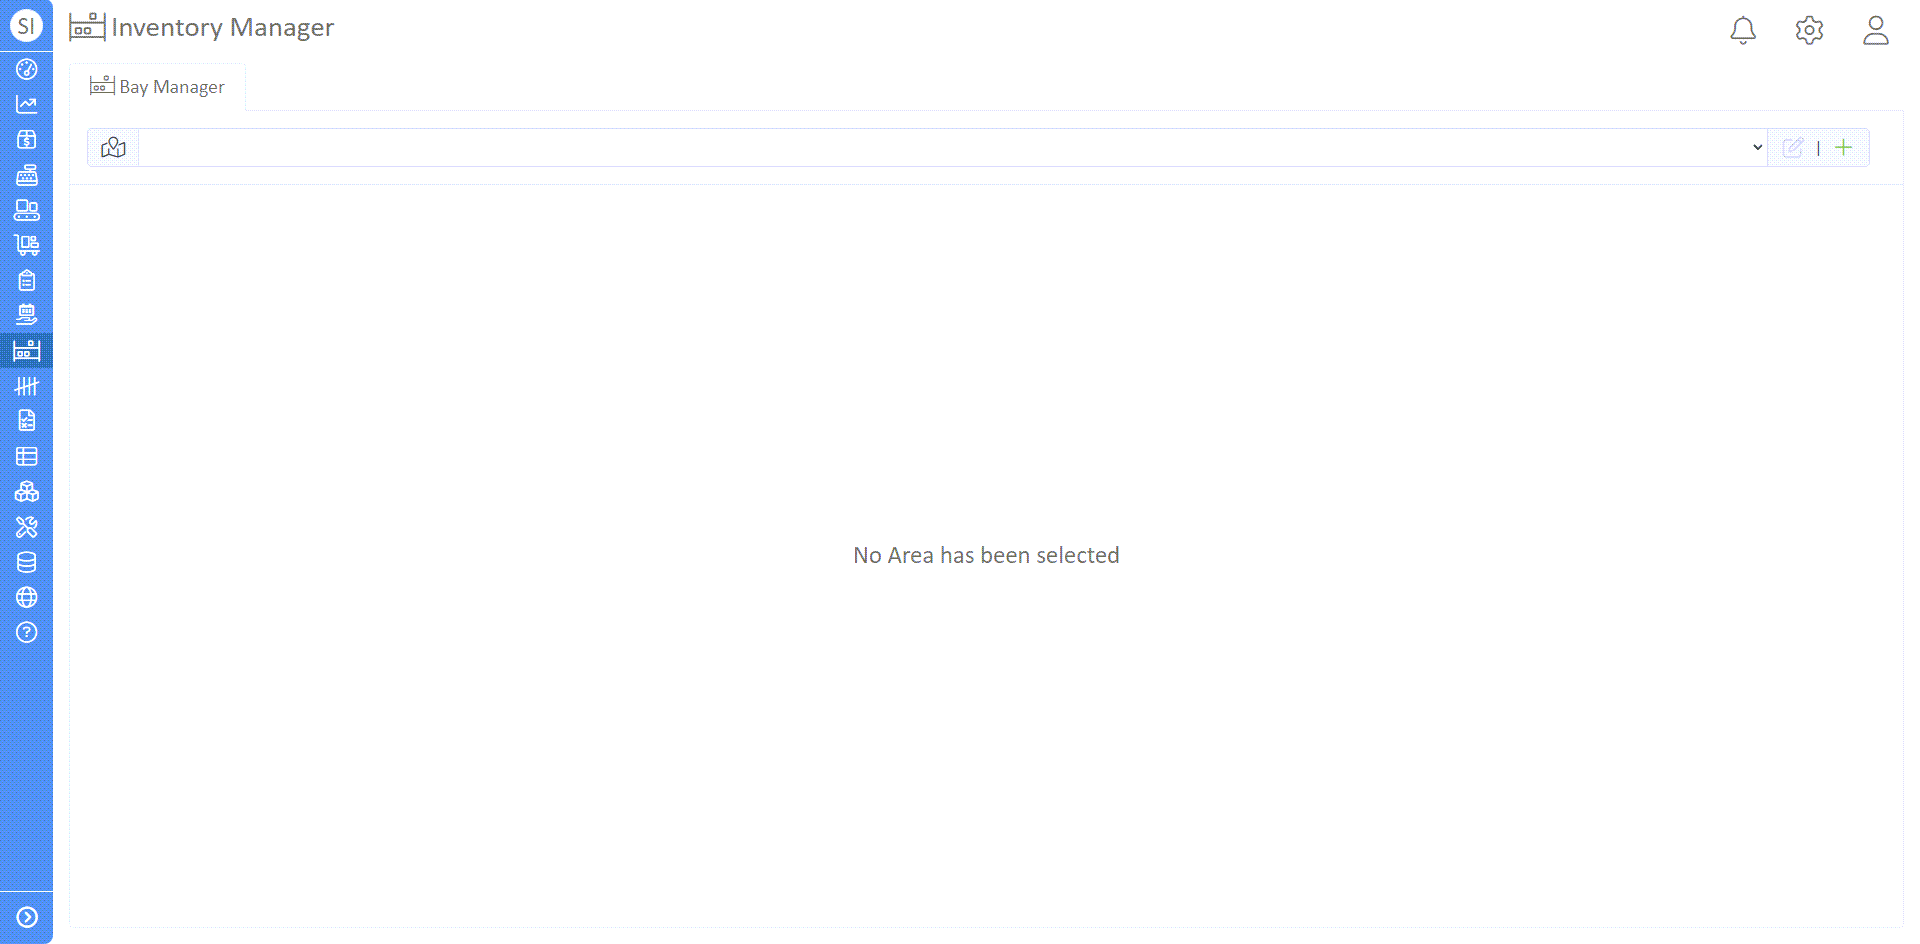
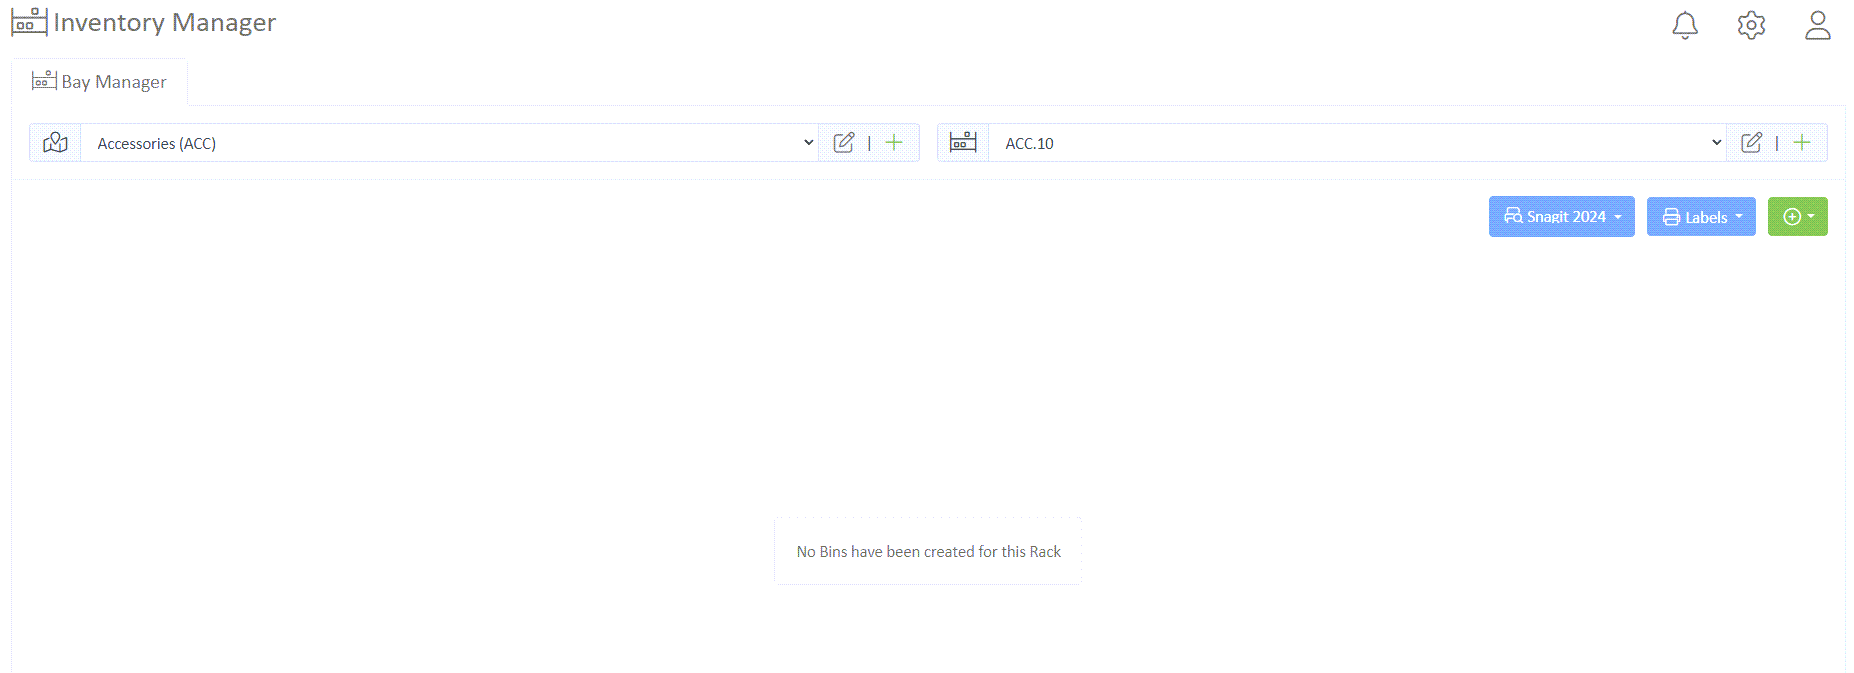
- Navigate to Inventory Manager
- In the main left-hand menu, select Inventory Manager.
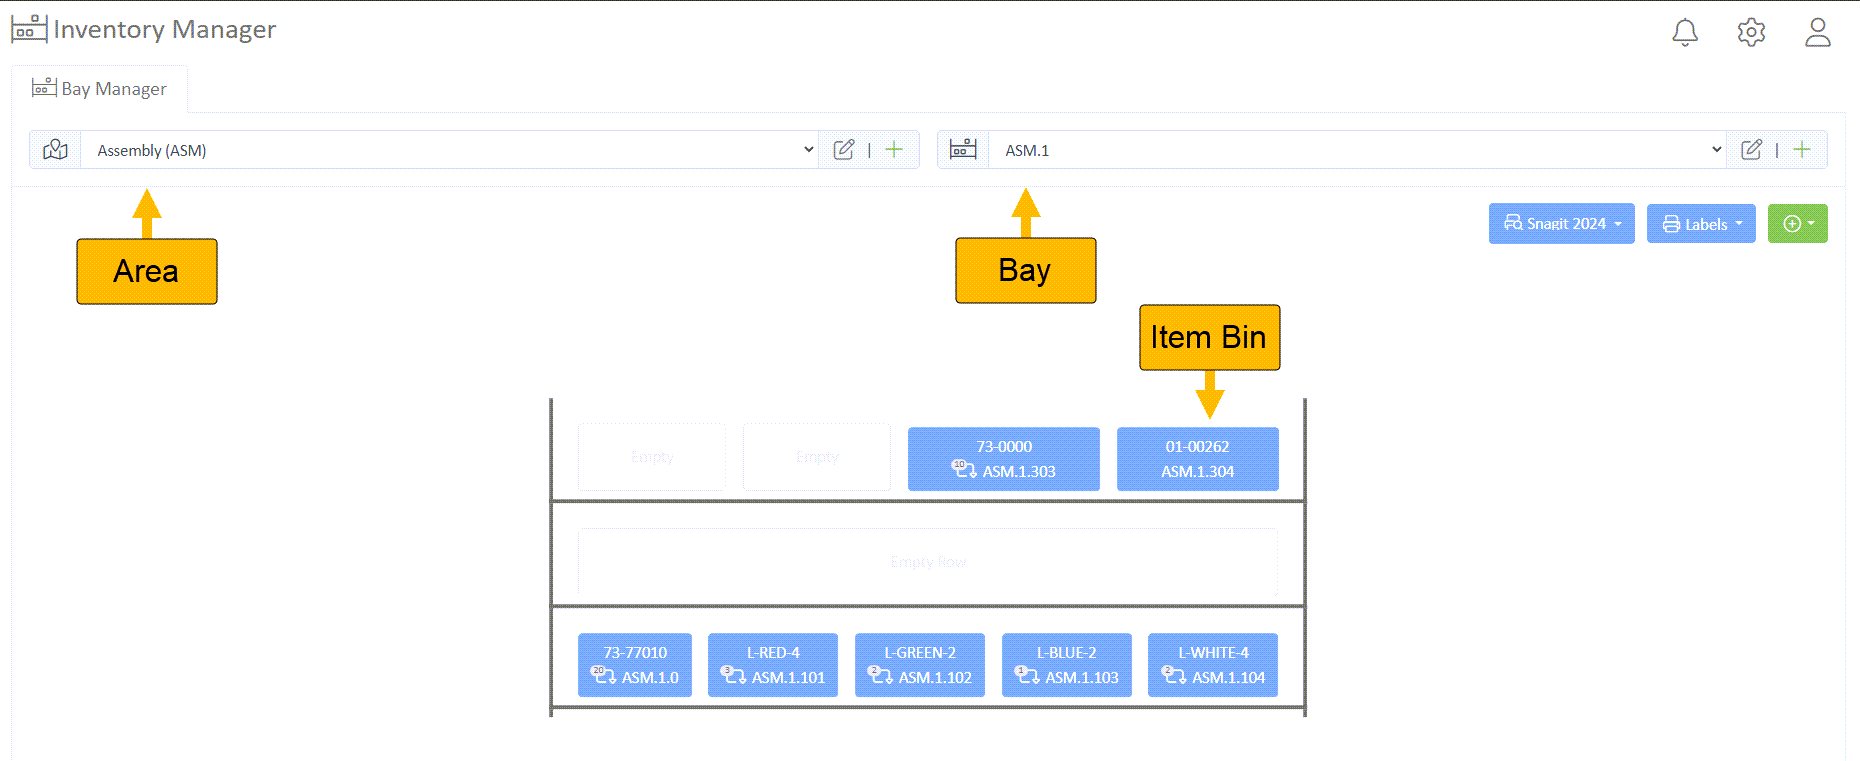
- Select Area and Bay
- Use the dropdown menus to choose an Area and a Bay.
- If available, these selections will immediately populate existing bins in that Bay.
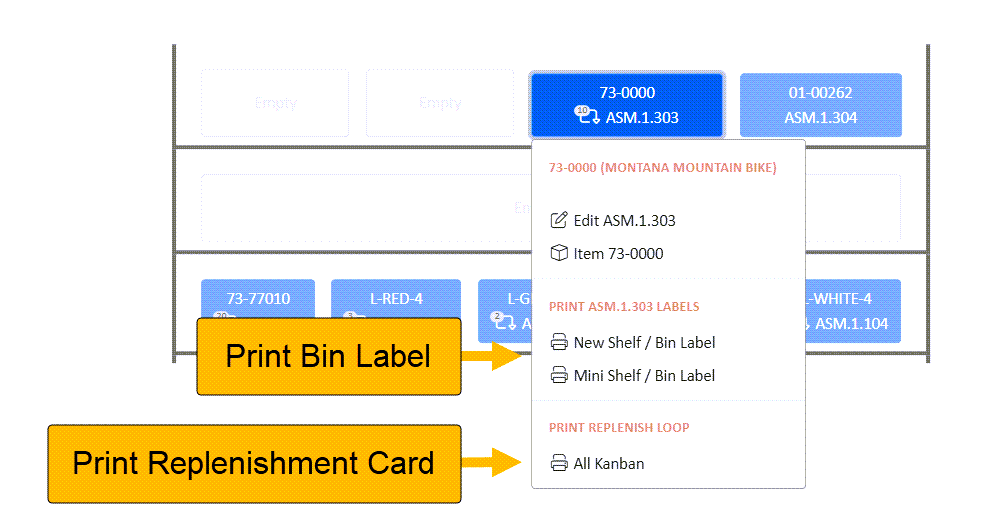
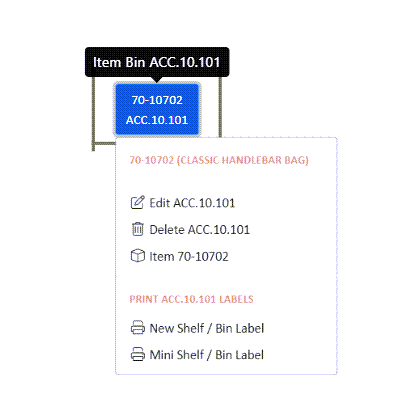
- Manage Bins
- Click on any bin to:
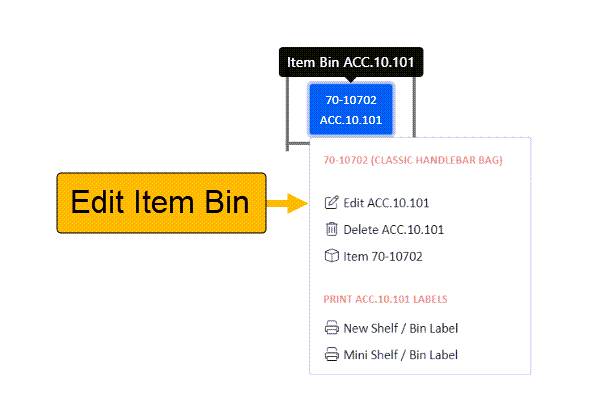
- Edit the Item Bin
- View the Item
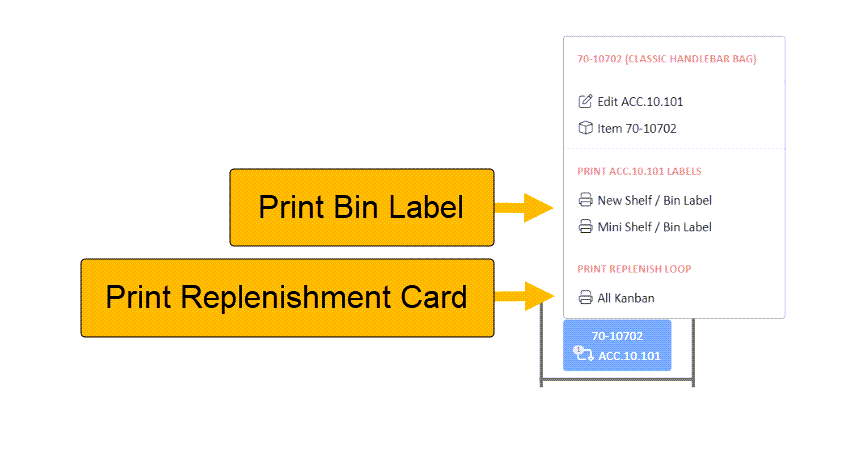
- Print Bin Labels
- Print replenishment loop cards
- Click on any bin to:
Set Up Areas, Bins, and Loops
If the system is not pre-configured with Areas, Bins, and Replenish Loops, follow these directions.
Create Area
- While in the Inventory Manager, select the green + icon on the Area toolbar.
- Add a Name, abbreviation, and link a facility. For example, we'll be creating an "Accessories" area.
- If you don't have a facility, click the settings cog wheel in the Inventory Manager toolbar, and under "Your Company", select "Facilities"
- Select the "+ New" button in the toolbar, and fill in the necessary information.
Create Bay
- Click the green + icon in the Bay toolbar, and enter a name
Once you've created and selected an Area and Bay using the dropdowns, the Rack will appear—initially empty, with no Bins displayed.
Create Bin
- Using the rack toolbar, select the green + icon dropdown
- Enter the bin location and click the grey save icon

- Search and link the desired Item to the bin. In this case, we'll link a bike accessory.
- Our Item Bin should now populate in the rack area
Create Replenishment Loop
Before creating your replenishment loop, we recommend reviewing our guide to inventory management with Kanban. This will ensure you're inventory system is set up properly.
- Select the Item Bin, and edit your Item Bin
- Navigate to the "Replenish Loop" tab, and select your loop type (Kanban or Reorder Point).
- Under "Quantities", set the target number of cards, the quantity per card, and cards in circulation.
Quantity Variables | Definition |
Target Number of Cards | Total number of desired cards in rotation |
Cards in Circulation | The number of replenishment cards currently active in the system |
Qty Per Card | The standard quantity of items represented by each replenishment card |
- Navigate back to the Inventory Manager, and select your item Bin
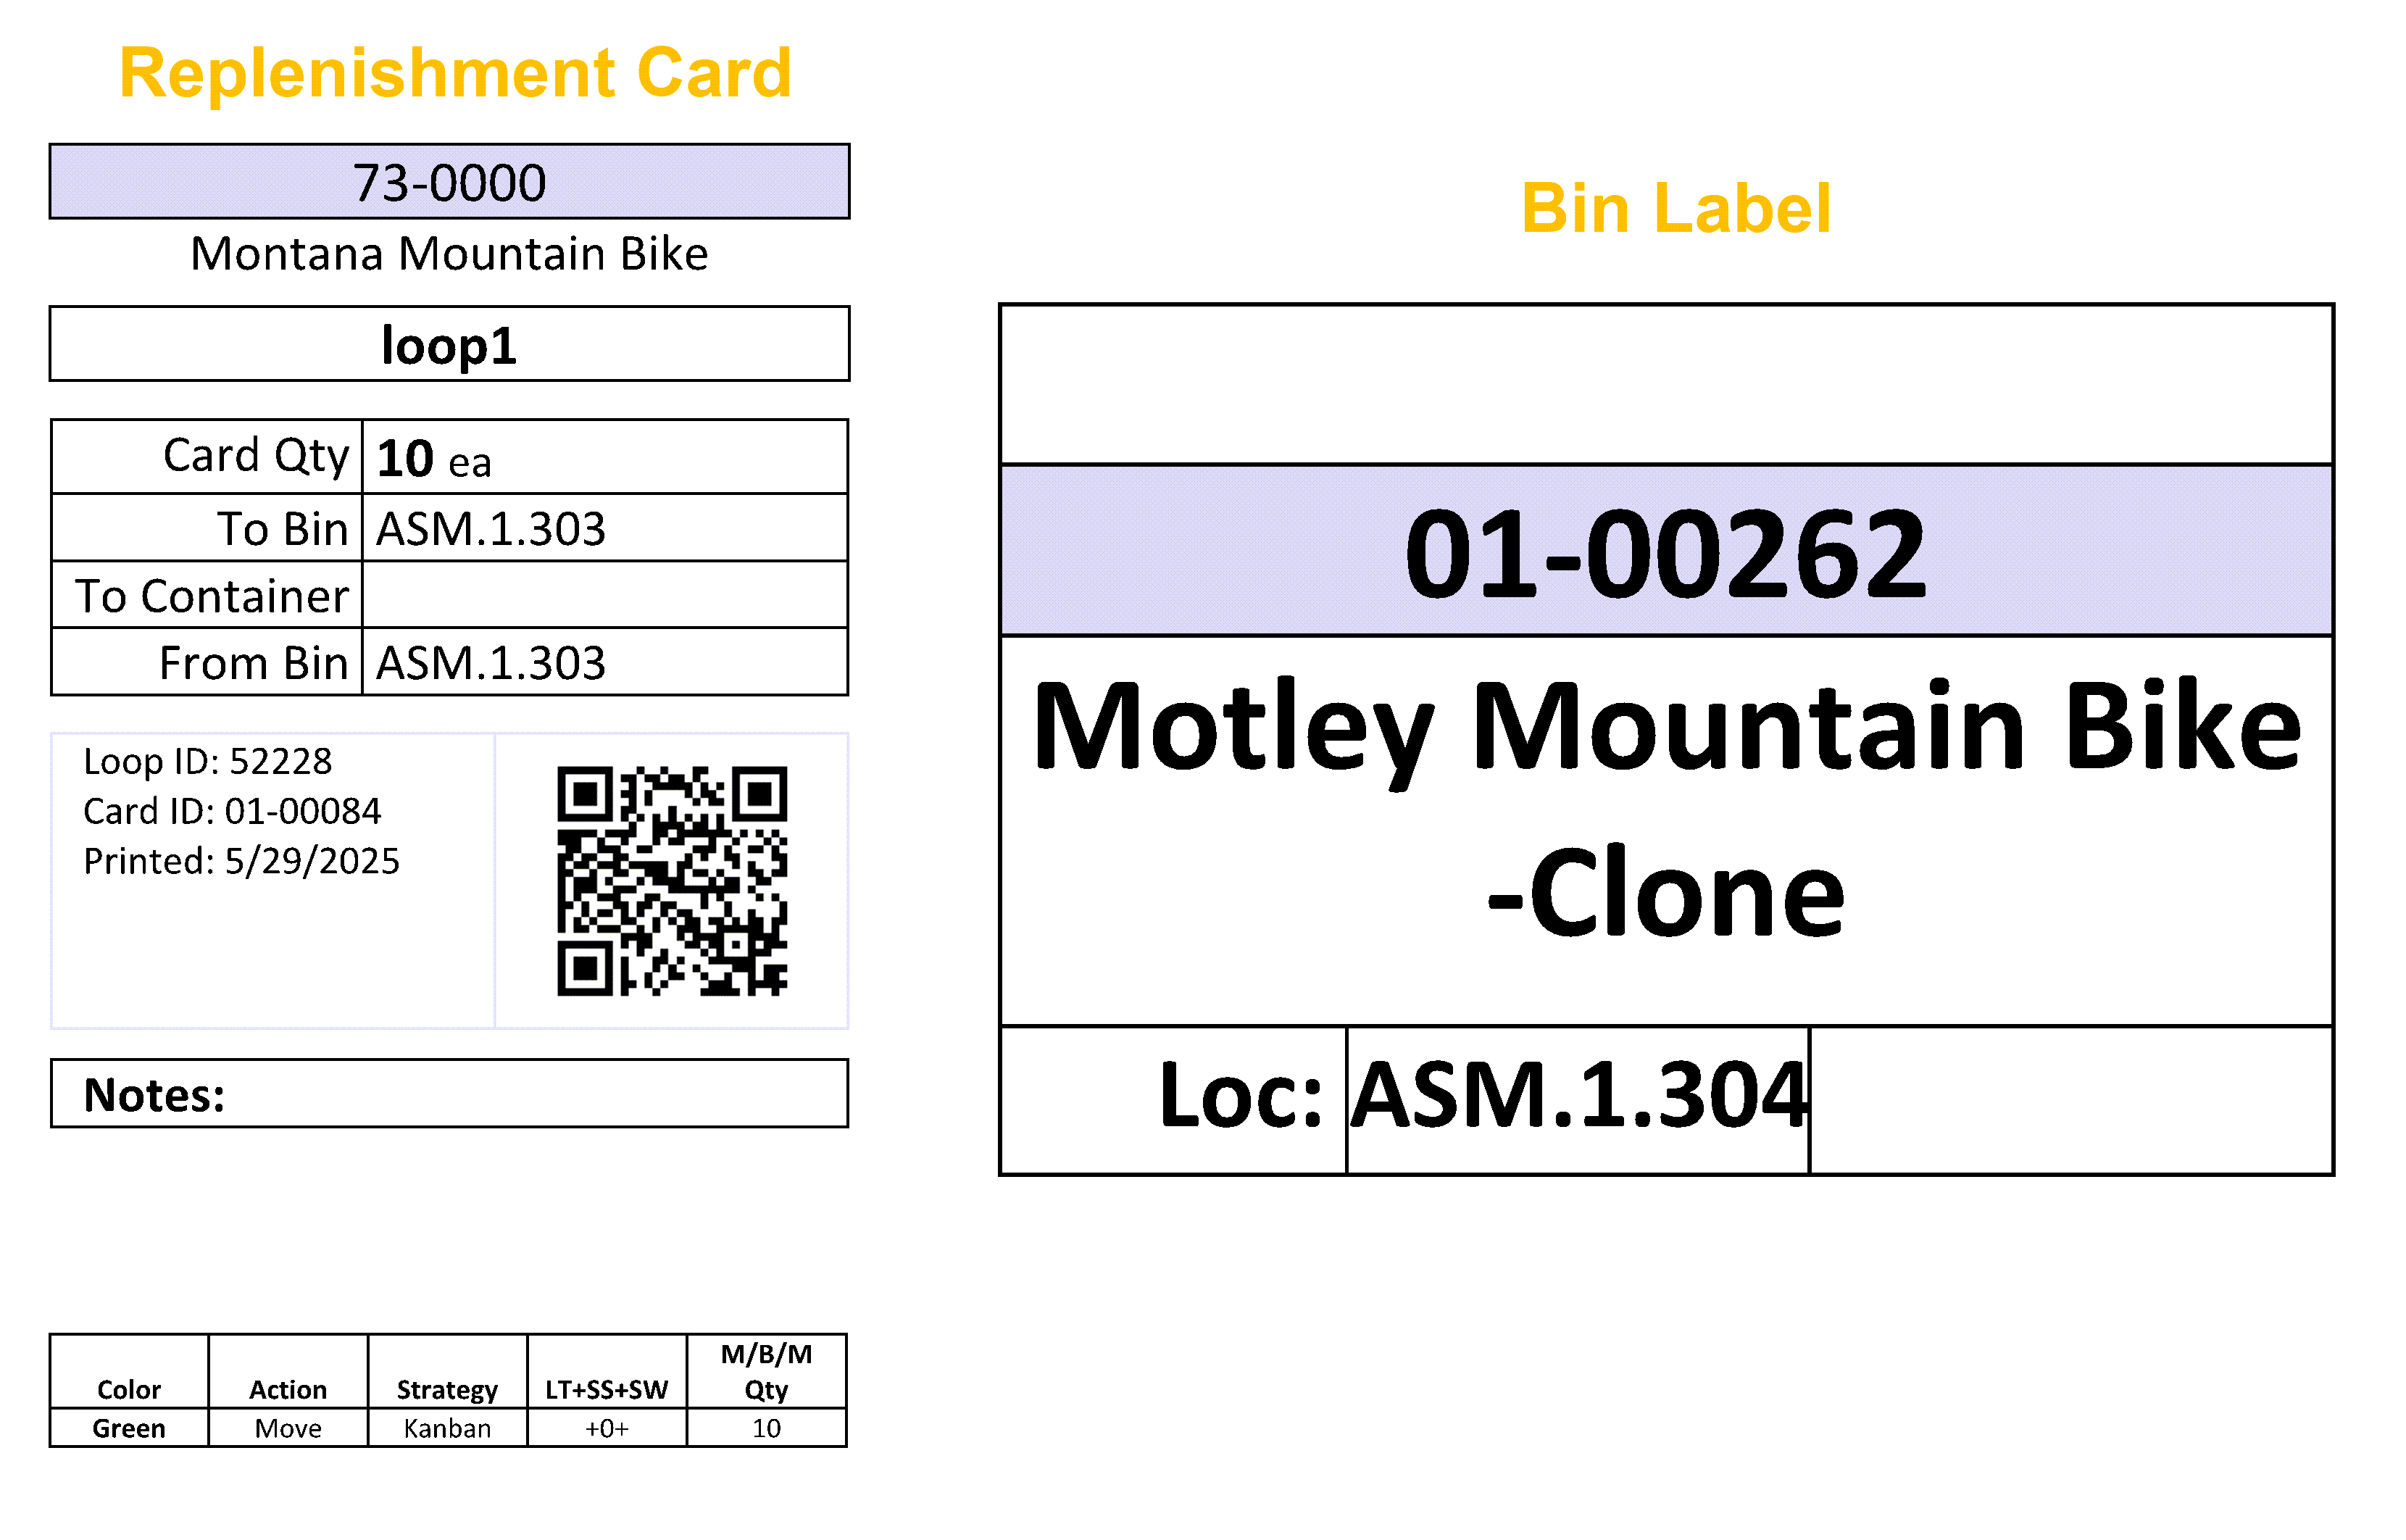
- In the dropdown under "Print Replenish Loop", print bin labels and replenishment card(s)
For more information on setting up Inventory Replenishment and Purchasing settings in wheelhouse visit our HelpDoc below:
How did we do?